


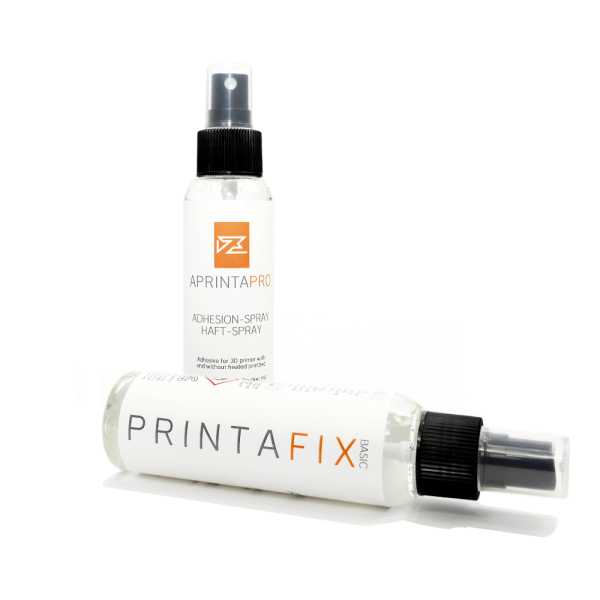


Remove the printbed from the printer. The printbed should be at room temperature and without damage. Remove all dust and residue from previous prints from the printbed. Place it on a table and shake the PrintaFix bottle well for 5 seconds.
2 – Application
Hold the PrintaFix bottle 10cm (4″) away from the printbed. Use enough spray strokes to cover the entire printbed with a thin film of the solution. Overlap spray strokes to prevent uncovered areas that could affect the adhesion. Let it dry for 30 seconds.
3 – Print
Put the printbed back into the 3D printer and level it. Start the print process with our recommended settings. We have tested our product with many materials and settings. Below we provide a list of the settings that achieve the best results with PrintaFix Basic. As we constantly try new materials and 3D printer we will soon update this list to help you choose the perfect temperature for your 3D printer and filament you like to use.
4 – Clean up and Finish
When your print has finished remove it carefully with a spatula. Clean up of PrintaFix can be done with warm water or an alcoholic solution. Most window cleaner will work – please check if they contain ethanol.


")
")


")


")
")


